Zoom integration
Integrating Zoom with Skima.ai allows you to seamlessly schedule and conduct interviews directly through the platform.
Here's a step-by-step guide to setting up and using the Zoom integration.
Connecting Your Zoom Account
- After logging into your Skima.ai account, locate and click on "Settings" in the left sidebar.
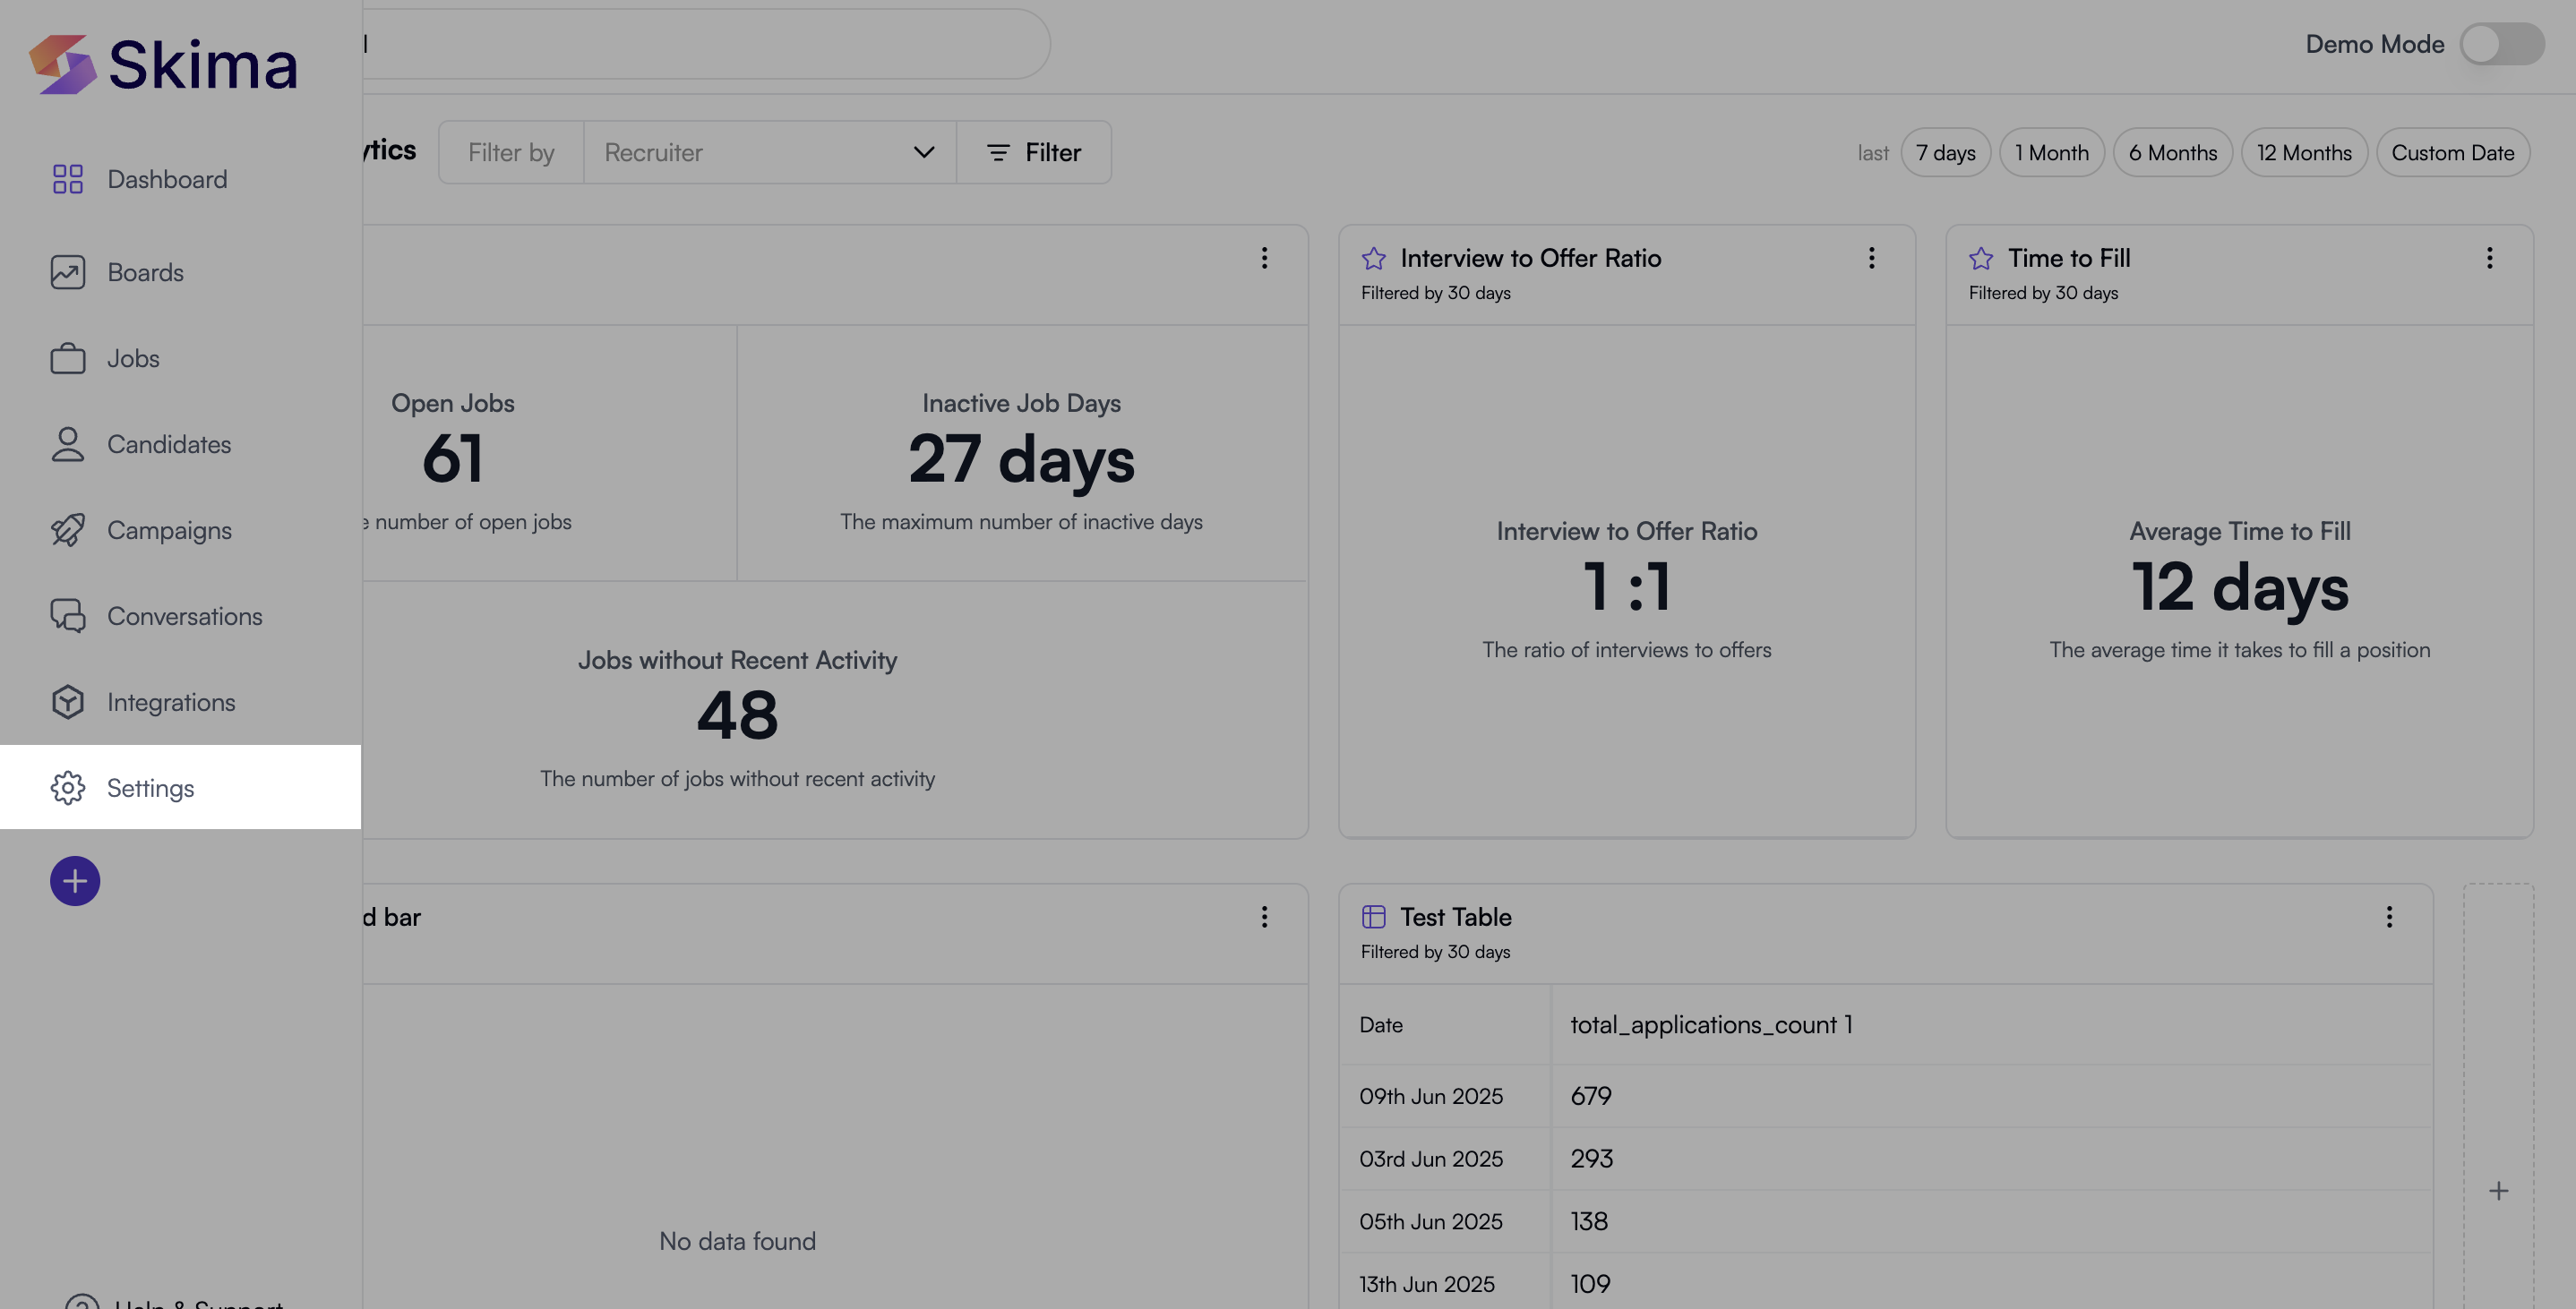
- On the settings page, find and click on "Other Integrations" to move ahead with integrating Zoom.
- Choose or edit your meeting provider. Here, you'll see "Zoom" listed. You can also check the current status of your Zoom integration.
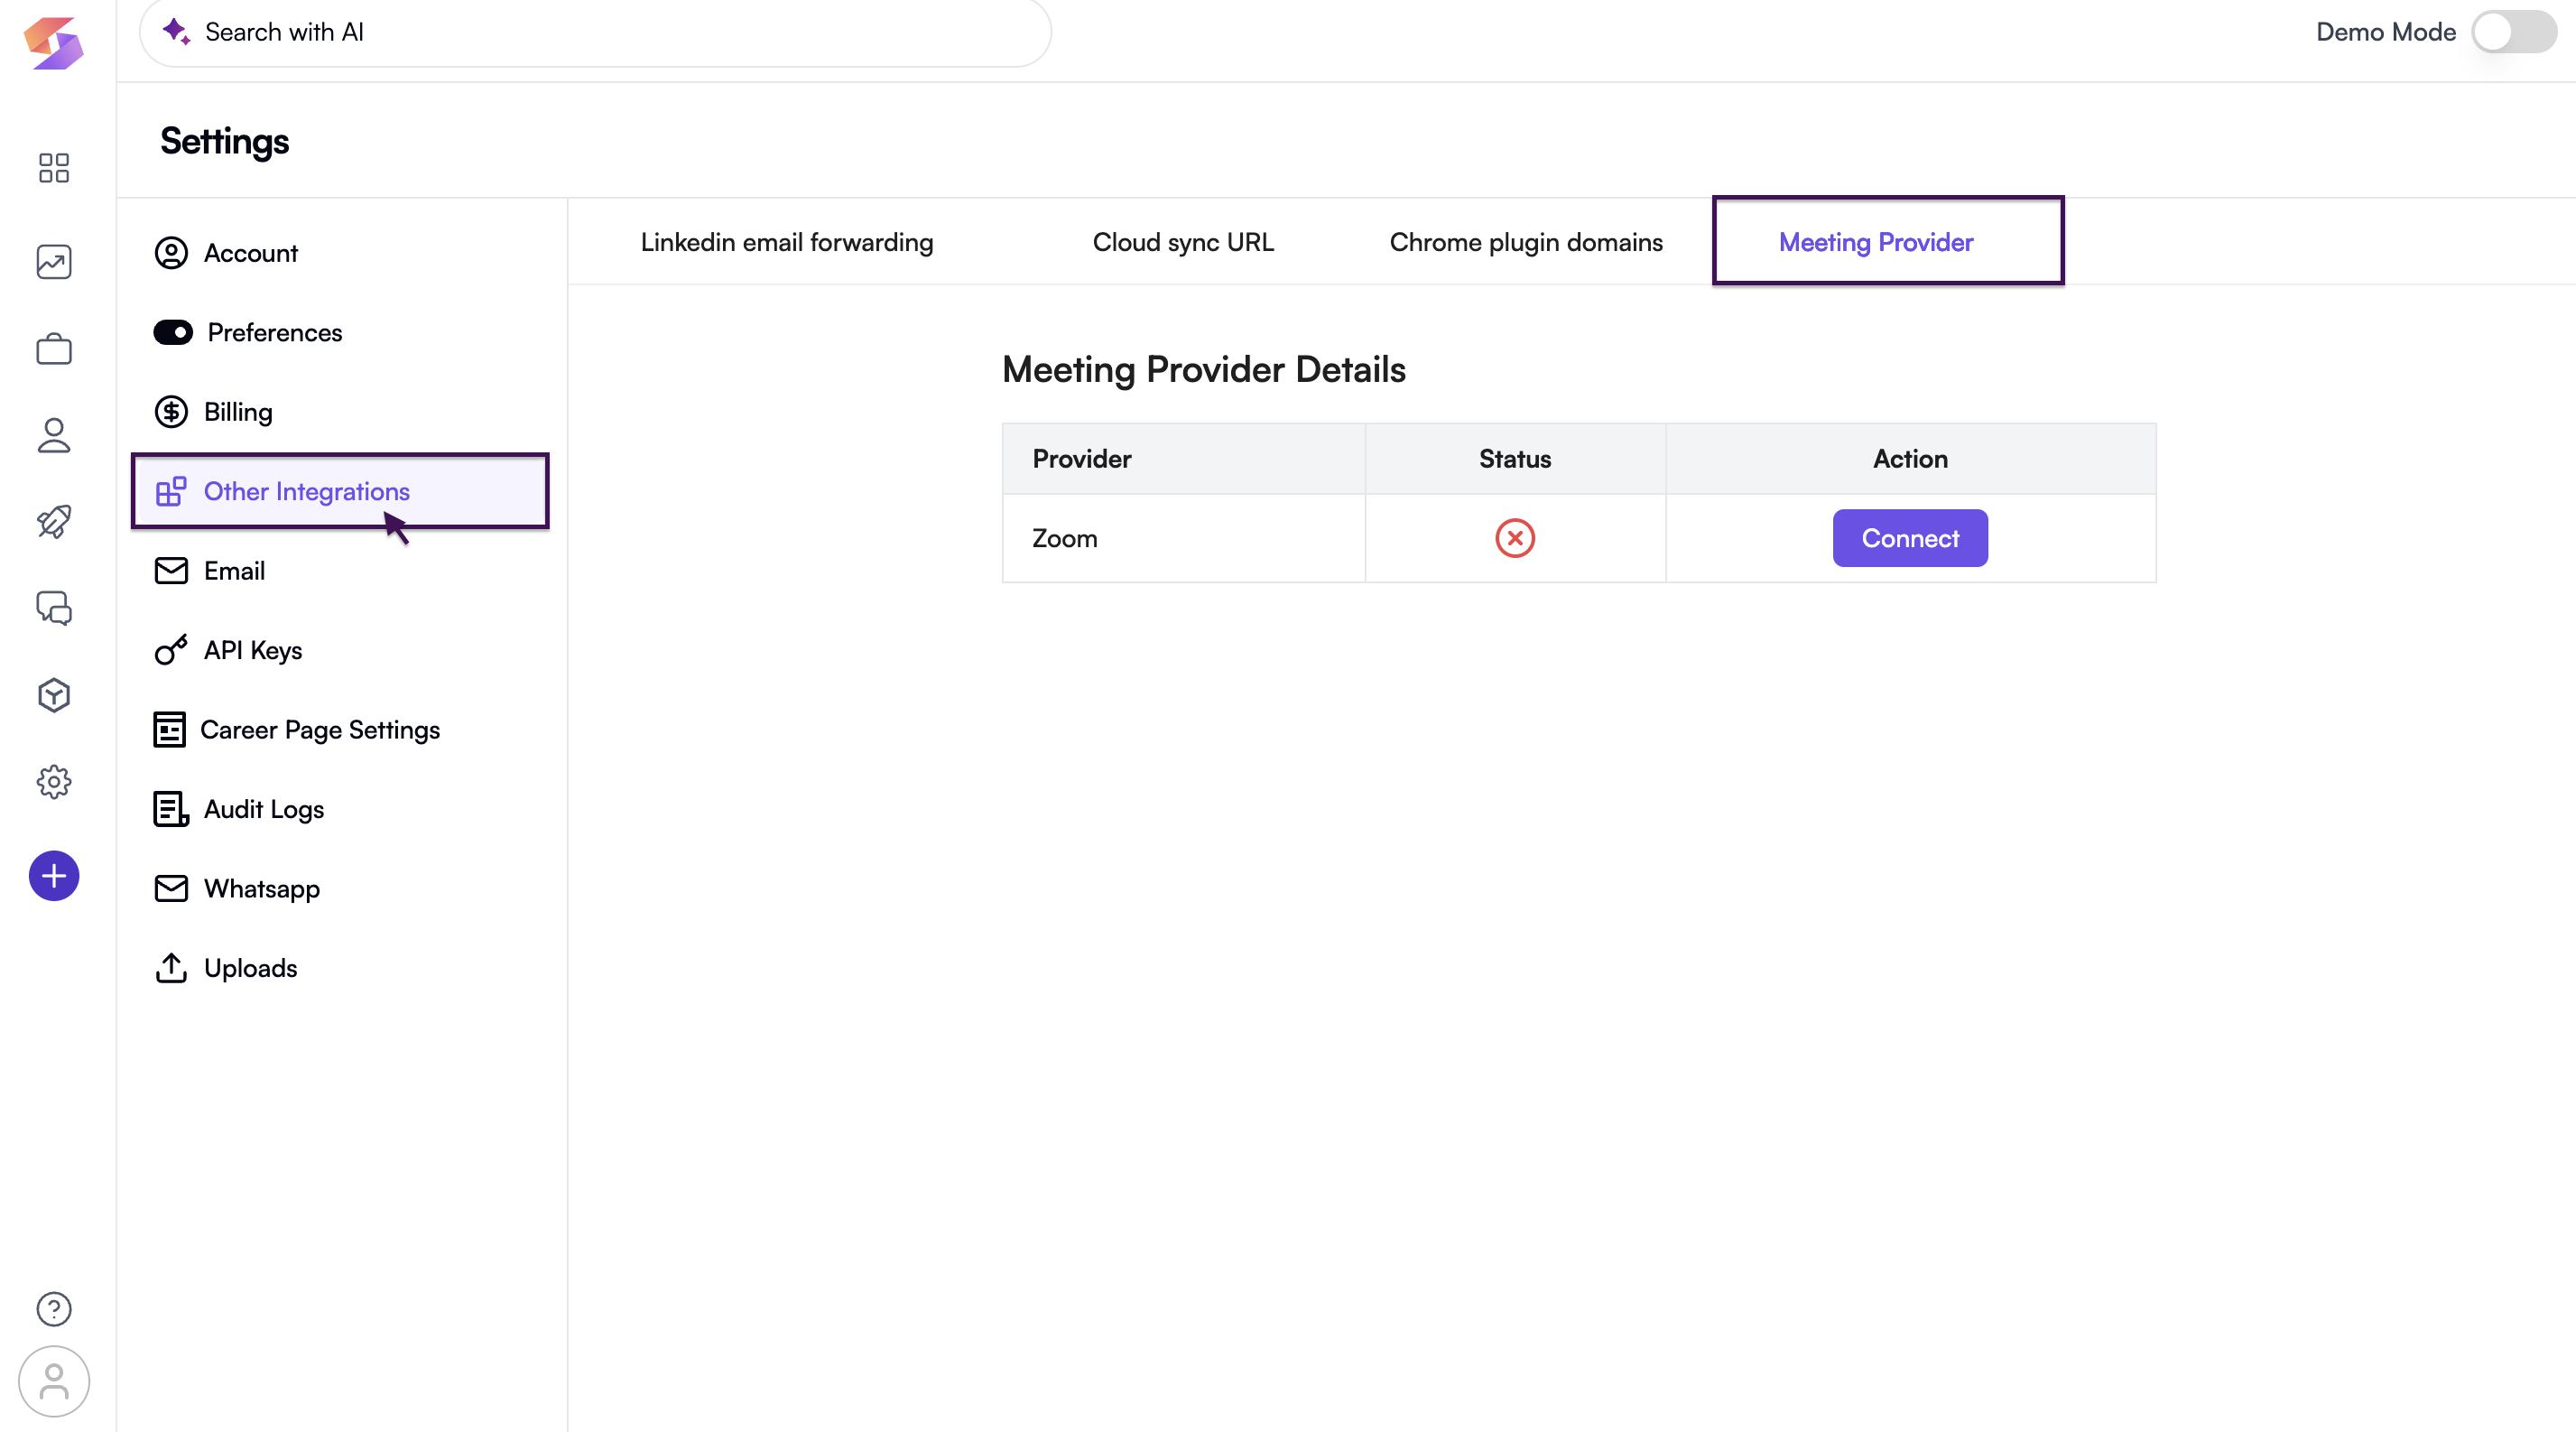
- Click the "Connect" button next to Zoom in Actions.

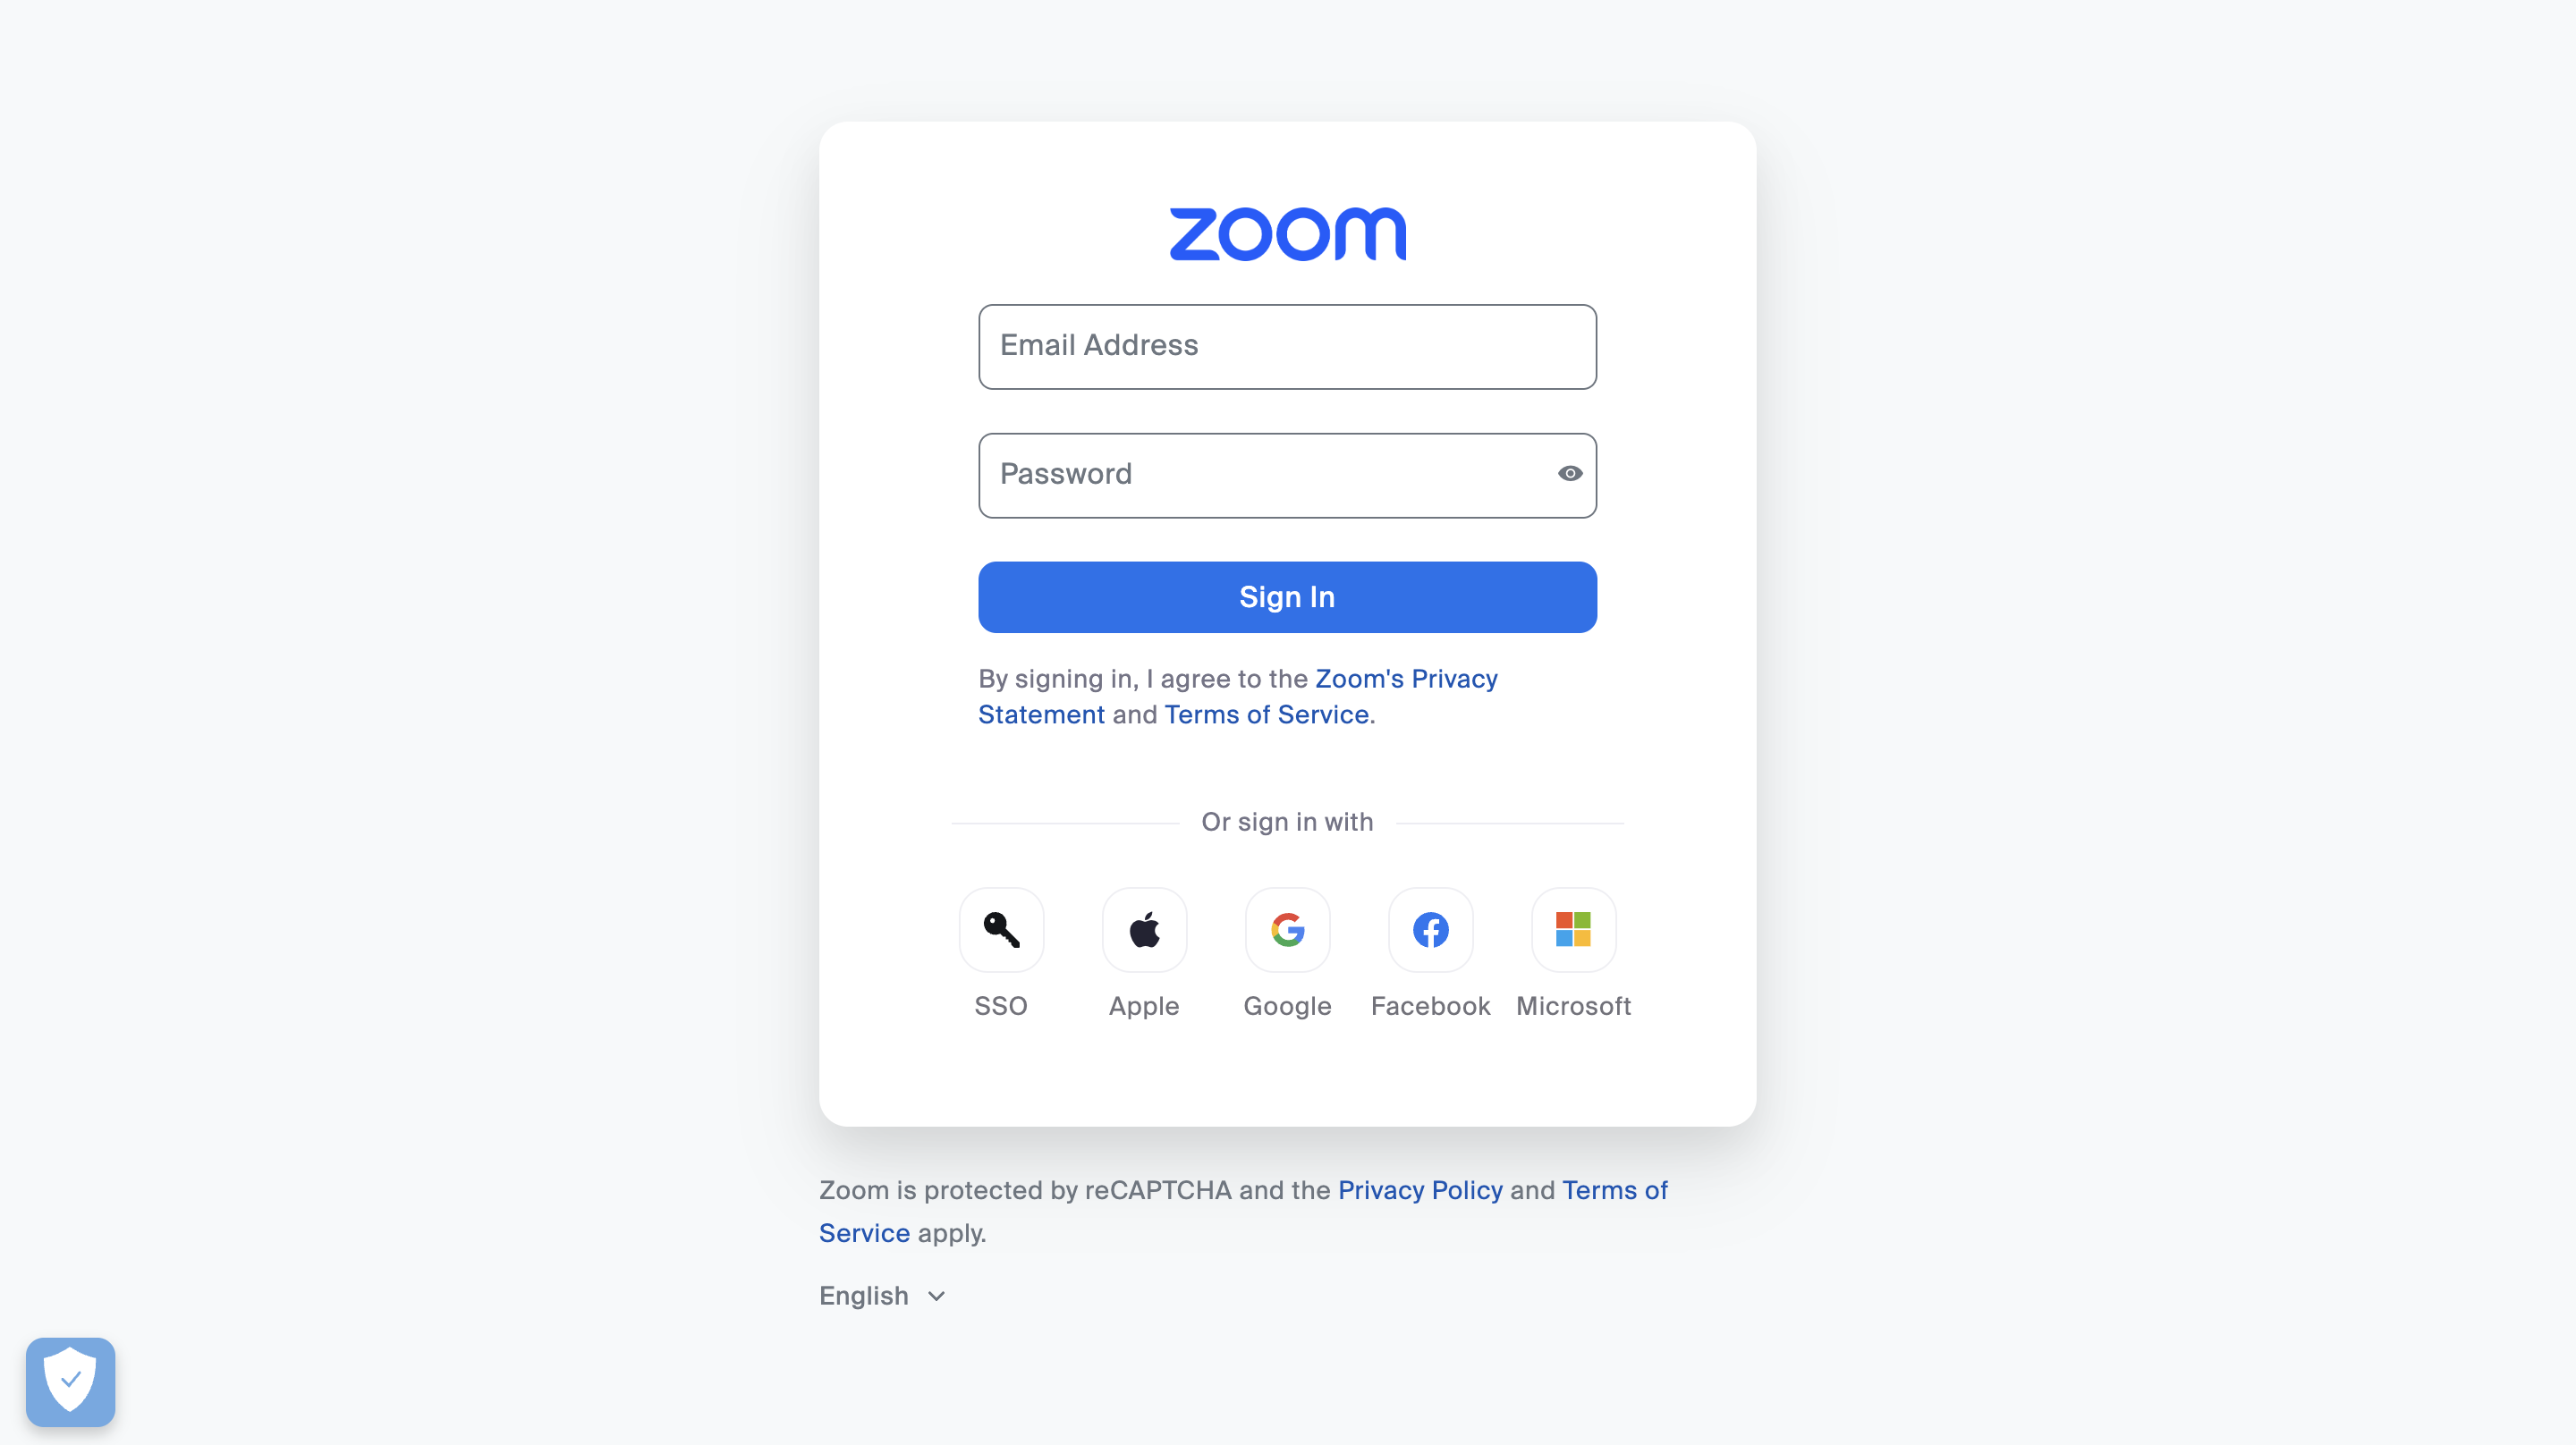
- You will be redirected to Zoom's sign-in page.
- Enter your Zoom Admin credentials (Email Address and Password) and click "Sign In" to authorise Skima.ai to integrate with your Zoom account.
Once these steps are completed, your Zoom integration will be enabled, allowing you to use it for scheduling interviews within Skima.ai.
Grant Access to Skima AI on Zoom
- Once you’ve successfully signed in with your Zoom credentials, you’ll be directed to a permissions screen asking you to authorise.
- This is a standard process to ensure that Skima AI can interact with your Zoom account securely and provide you with a seamless experience.
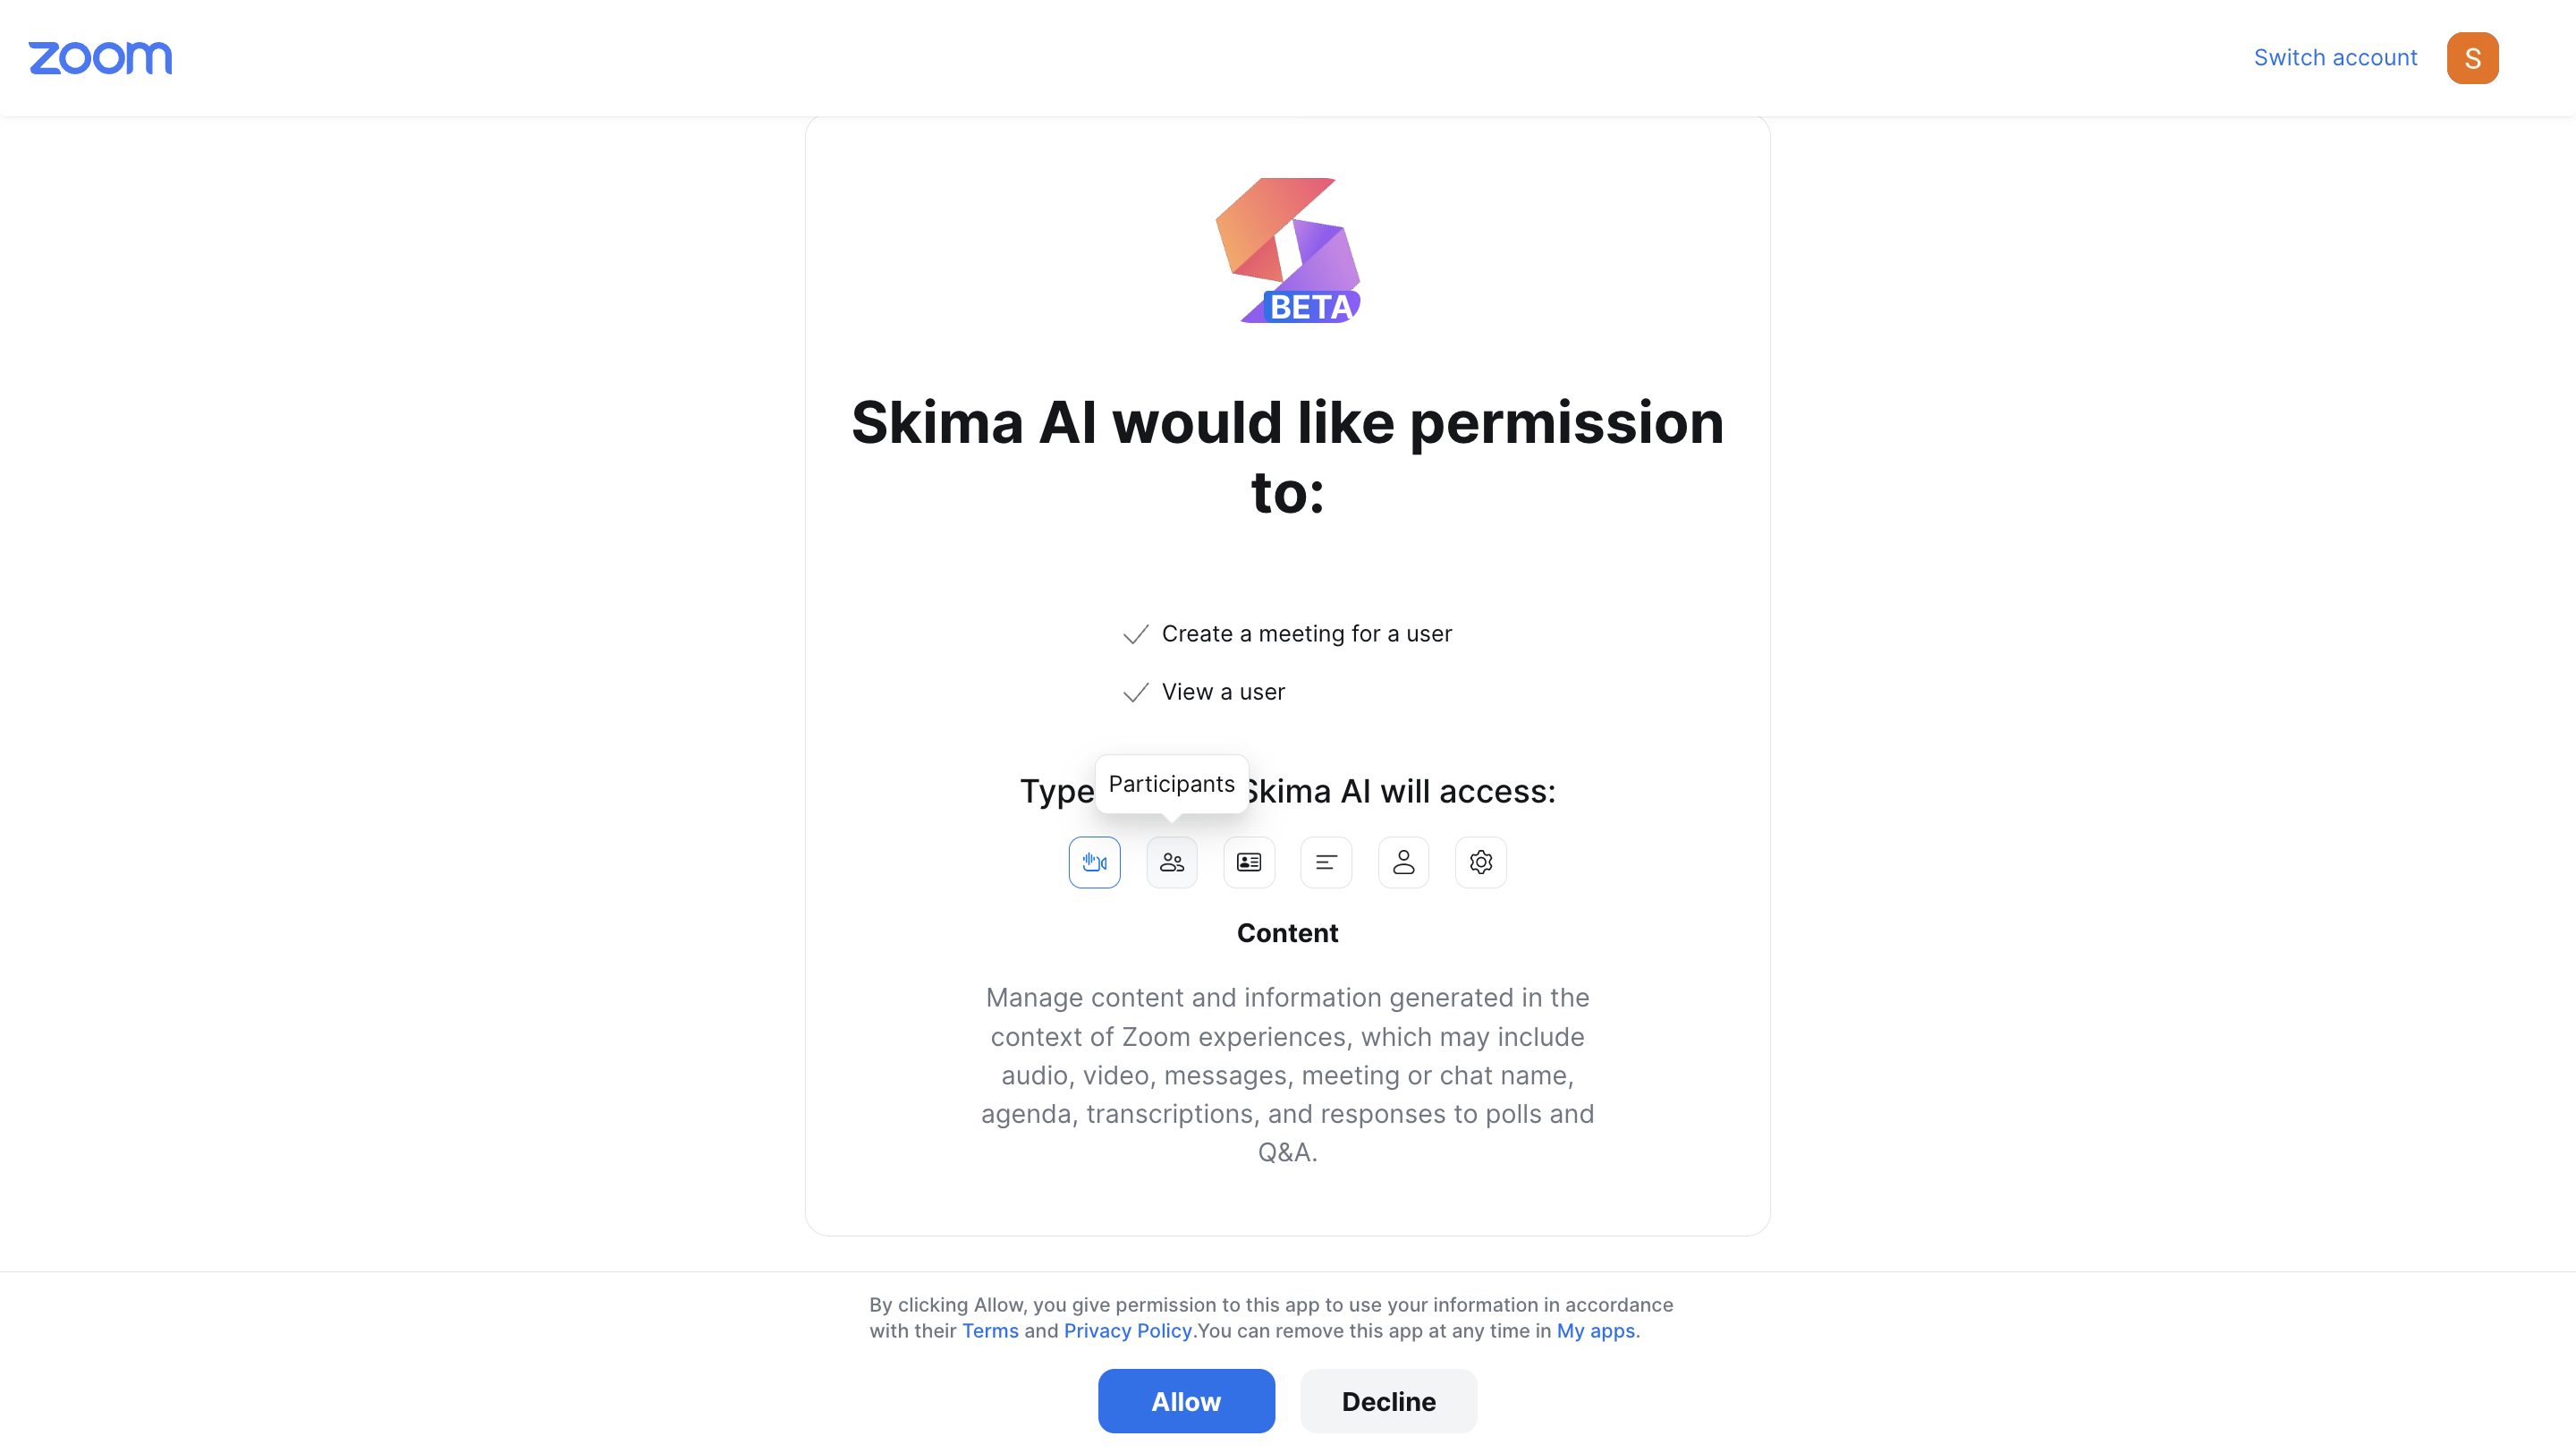
- We need the permission for the following scopes:
a. Create a meeting for a user
b. View a user - Click the blue “Allow” button at the bottom to proceed.
- Once allowed, you’ll be redirected back to Skima AI to continue setting up your Zoom integration.
Skima AI only uses these permissions to enhance your experience and does not share your Zoom data with third parties. You can revoke access at any time through your Zoom account under “My Apps”
Scheduling an Interview
Now that you're connected, Zoom can be used in any step of your candidate interview flow.
- Navigate to Jobs and choose the job for which you want to schedule interview for candidates through zoom. Make sure the candidate is linked to the Job.

- From the candidate's profile in Skima.ai, click on "Schedule an Interview" from the available options.
- A "Schedule Interview Event" pop-up will appear. Provide the necessary details for the interview.
◦ Title: Set a clear and concise title for the interview.
◦ Description: Use this section to describe the specific role or provide more context about the interview.
◦ Event Start Date and Time: Specify the date and time when the interview will begin.
◦ Event Duration: Set the duration for the interview.
◦ Participants: You can add multiple participants from your organization and team members who will be involved in the interview.
◦ Additional Files: Attach the Job description or any other attachments like role responsibilities, company overview, etc. - Under "Select Platform" choose "Zoom" as the medium for conducting the interview.
- After filling in all the details and selecting Zoom, click Send Invitation.
- Once the interview is scheduled, go to the candidate’s profile to you can see the interview details at top of the candidate's profile, with the interview details.
Updating the Scheduled Interview Event
Once the interview is scheduled, you can view its details at the top of the candidate’s profile. This includes the scheduled date and time, along with two options:
-
Reschedule
-
Cancel
a. Rescheduling an Interview
If you need to make changes to the interview timing, click the Reschedule option. A modal will appear titled "Reschedule Interview Event."
As the meeting organiser, you can only update:
- Event Date
- Interview Time
- Event Duration
Once rescheduled, the new details will be reflected both on the candidate’s profile and in Zoom automatically. All participants will receive updated calendar invites with the revised schedule.
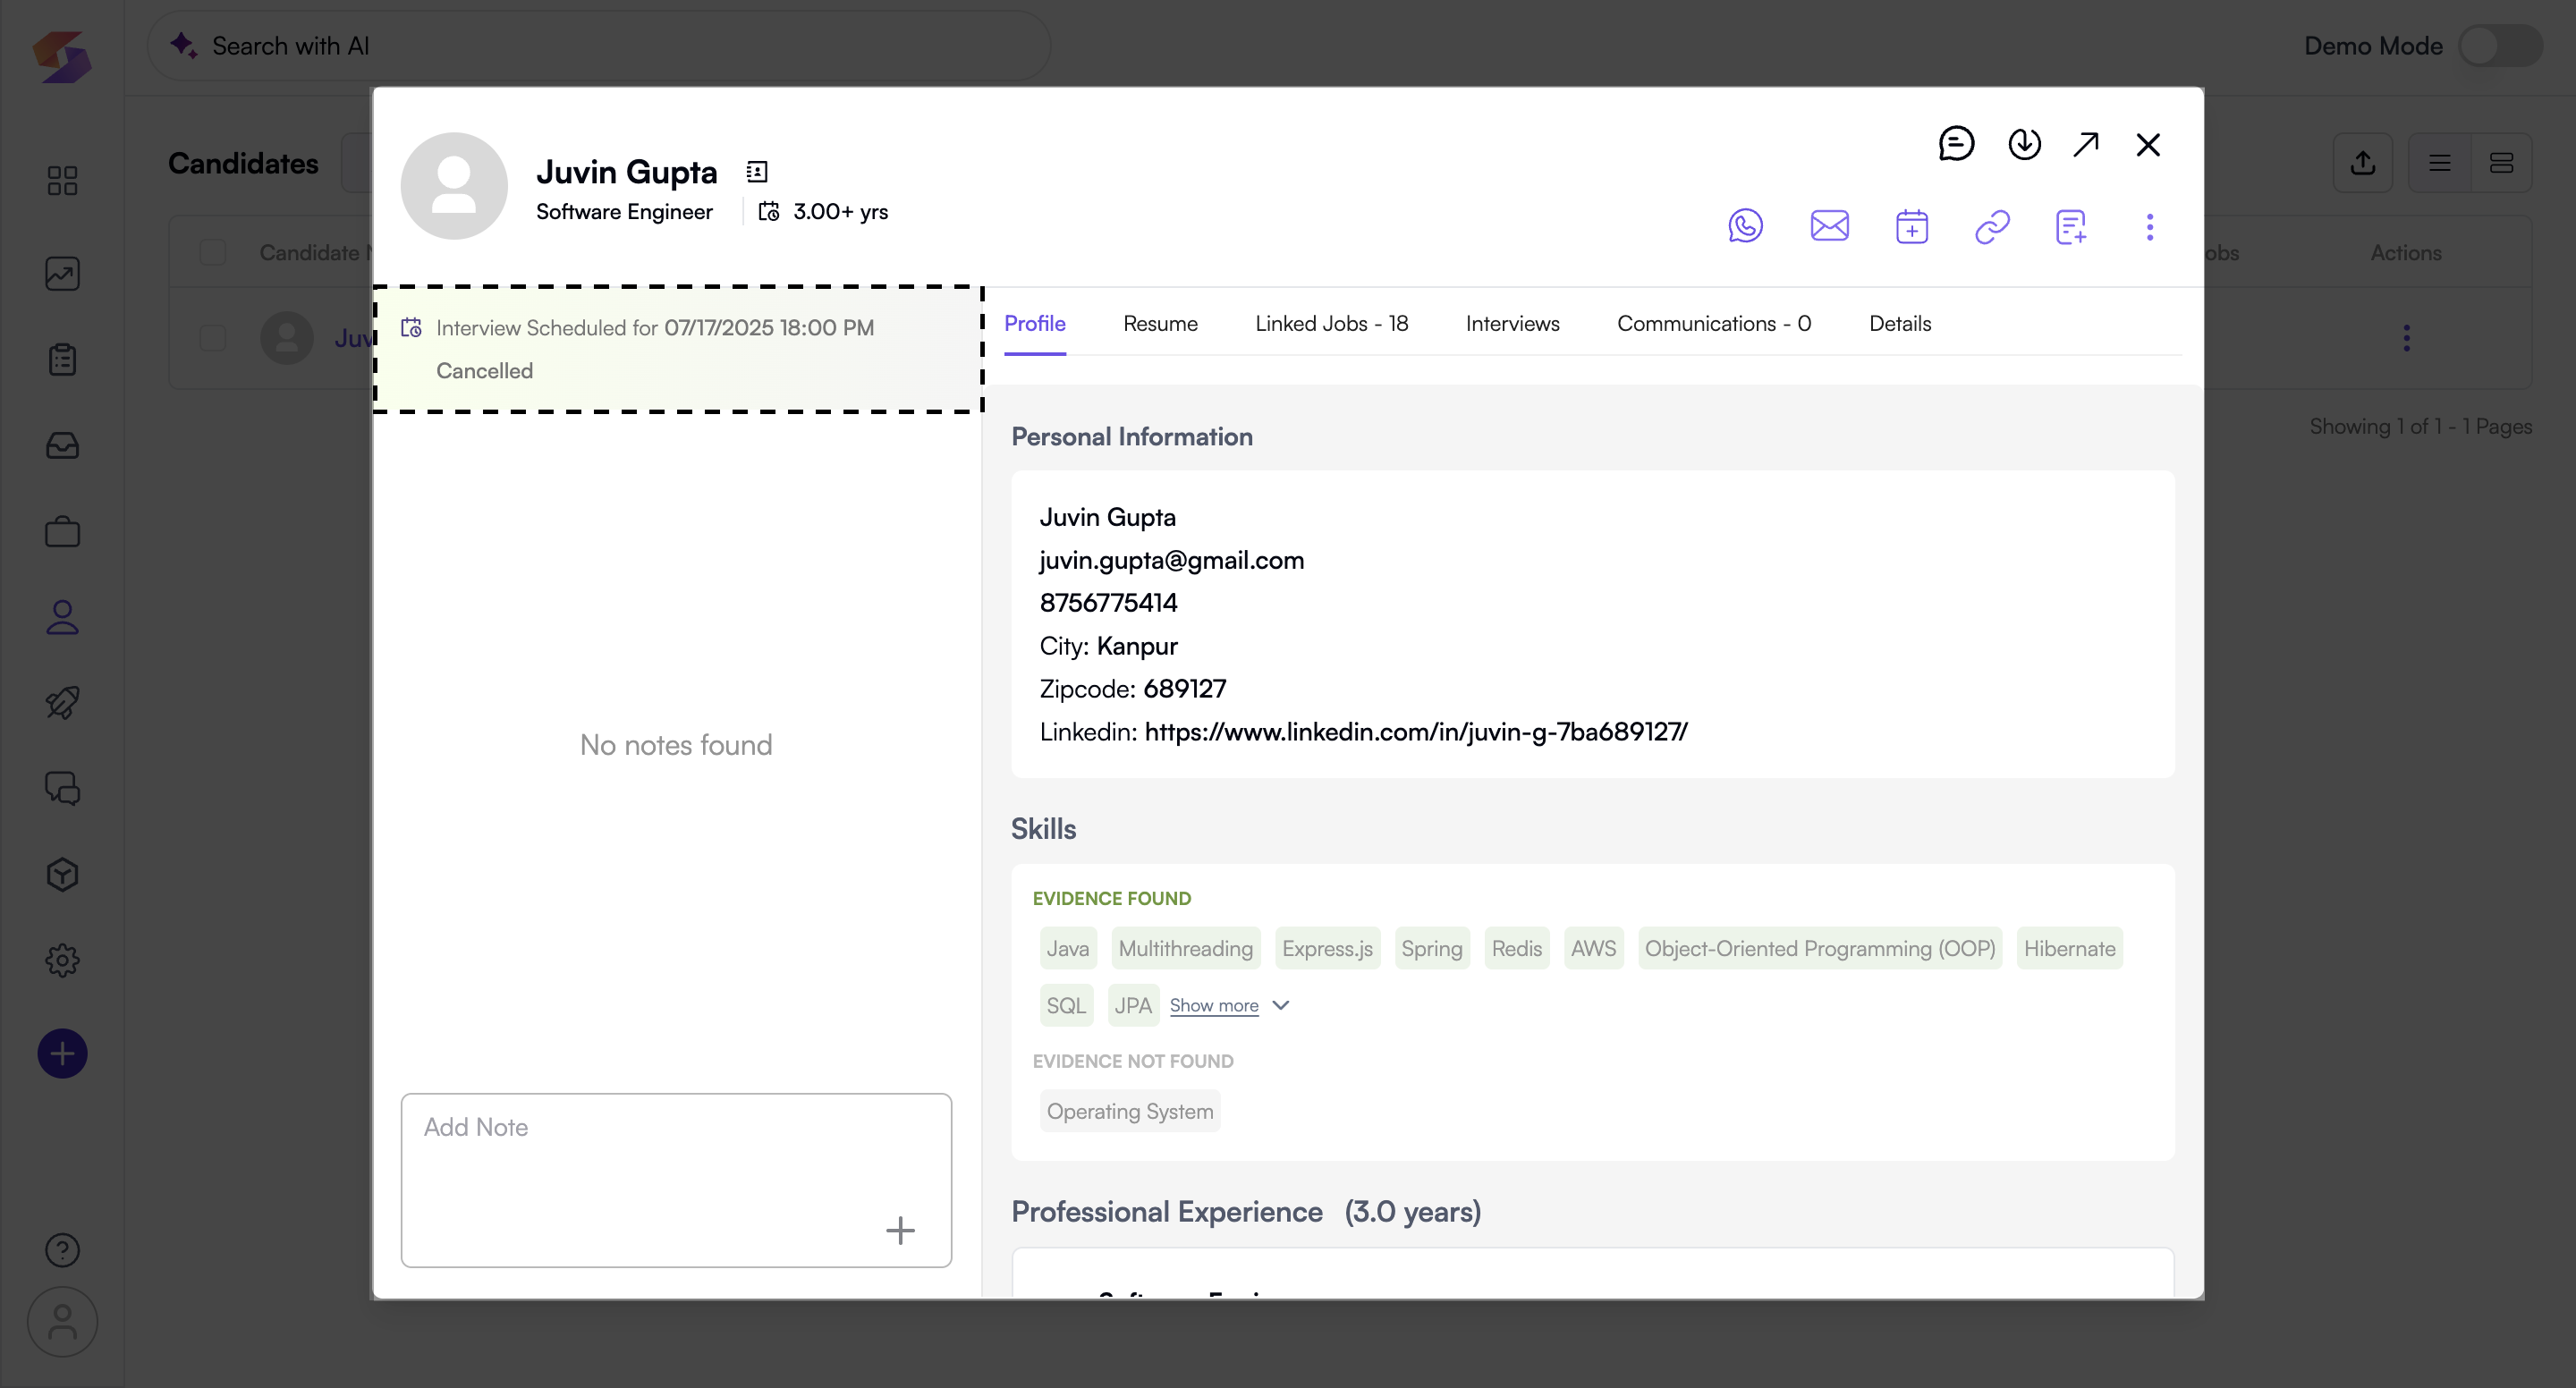
b. Cancelling an Interview
If the interview is no longer required, click Cancel
1. The interview will be marked as cancelled in the candidate’s profile. 2. The Zoom meeting will be automatically deleted from your Zoom calendar. 3. You will still see a record of the cancelled interview under the candidate’s past activity log, helping you keep track of the event history.
 This makes it easy to manage real-time changes while ensuring full visibility about candidate timelines.
Disconnecting Your Zoom
If you need to disconnect your Zoom account from Skima.ai, follow these steps:
- From your dashboard, go to "Settings" in the left sidebar.
- Click on "Other Integrations". Here, you can edit the status of your meeting provider.

- Click on "Disconnect" next to Zoom in the Meeting Provider details.
Disconnecting your Zoom account will clear your credentials from Skima.ai.
If you wish to connect again in the future, you will need to reconnect your Zoom account to log in and authorise the integration.
Zoom Conditions & Limitations
Skima gives you full access to all Zoom-related features at no additional cost. However, your Zoom account settings and plan limitations will still apply.
Here's what to keep in mind:
| Zoom Plan | What You Can Do | Limitations |
|---|---|---|
| Free | Schedule and host meetings via Skima | Group meetings end after 40 mins |
| Pro or Higher | No major limitations | Based on Zoom’s terms of service |
- Skima doesn’t restrict Zoom features — but Zoom’s own limitations (like meeting duration) still apply.
- If your meeting ends due to Zoom's free plan limits, you'll need to upgrade your Zoom account.